Fountain Pen Photography

pen photography

By Jon Warren. Last updated:

A large part of successful ecommerce is mastering the art of product photography. Please follow this guide to ensure your photography is up to our standards.

How many photos should we include per listing?

For pens, a minimum of 7 photos, and no more than 10 photos. Take 10 for a multiple-pen set. Take only 7 photos for a typical MINT IN BOX or loose fountain pen.

THE SHOTS

Shot #1 : MAIN SHOT - THE BOX AND ALL

shot 1

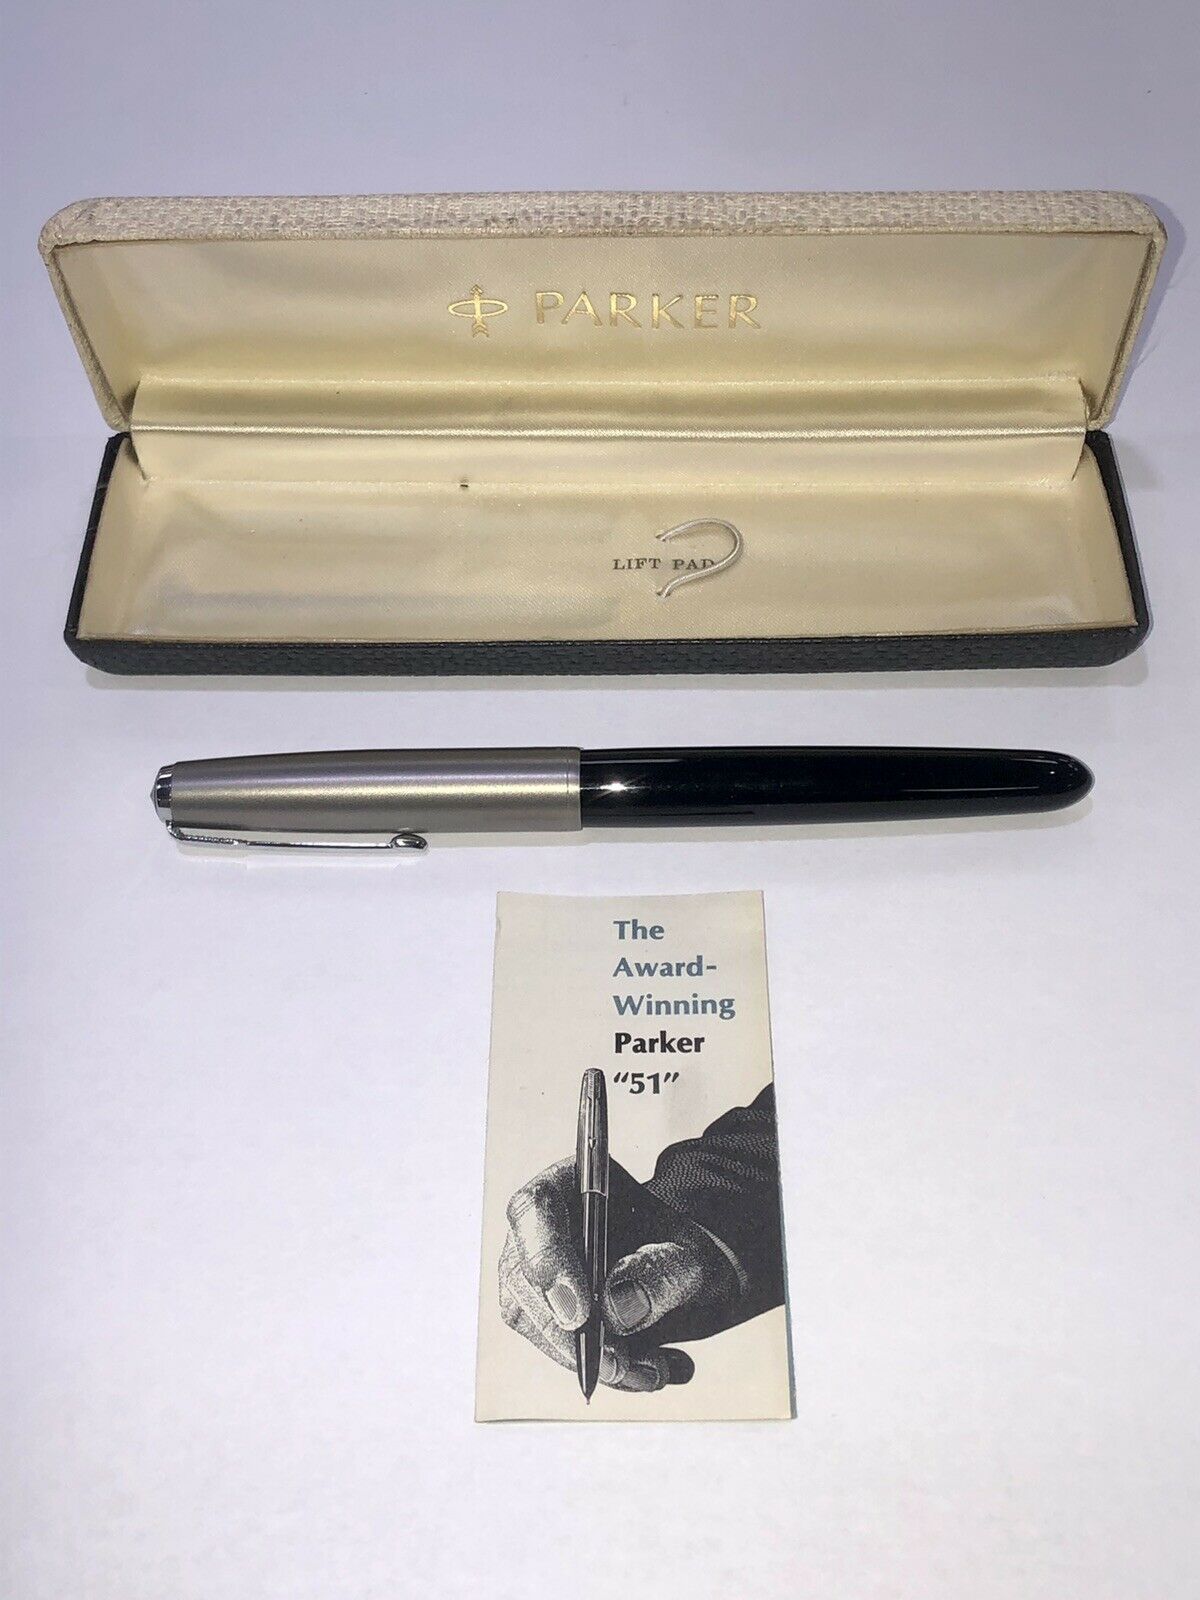
1. Arrange the shoot so the image includes the box, the pen, and any paperwork. If it is possible to balance the open pen on top of the box, do it.
2. The FOUNTAIN PEN shoot be shot from FRONT side, with CLIP showing.

Shot #1 : ALTERNATE MAIN SHOT WHEN NO BOX

shot 2

Take a shot of just the pen, cap removed with the CLIP side facing, nib showing.

Shot #2 : CAP CROSS SHOT

shot 3

Lay the pen across the cap to create a cross. This shot will provide a great view of the barrel, NIB and cap.

Shot #3 : FRONT NIB SHOT

shot 3

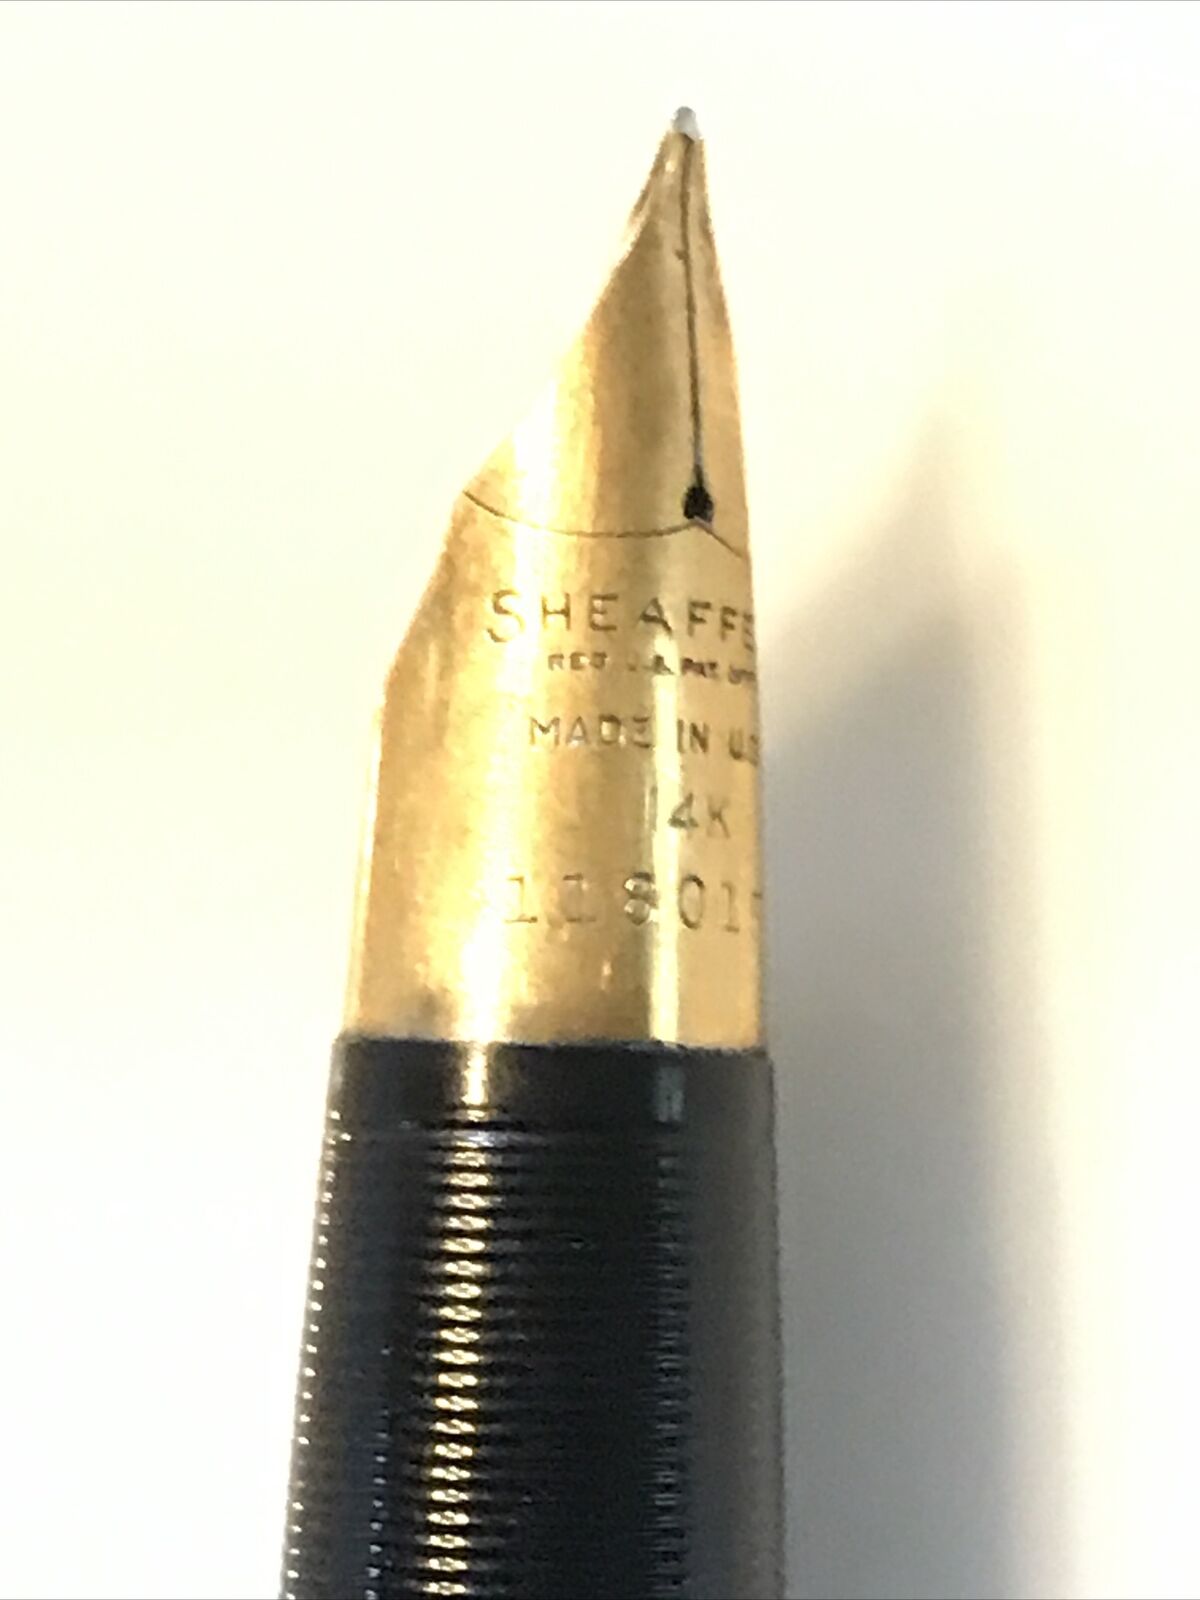
Zoom in, to 5x or higher, and shoot the front of the NIB to capture its design as well as any markings on the NIB.

Shot #4 : REAR NIB SHOT (if applicable)

shot 4

Zoom in, to 5x or higher, and shoot the rear of the NIB. NOTE: This is allows the buyer to see for themselves whether it has been inked or not.

Shot #5 : THE INNER COMPONENTS SHOT

shot 5

Take a shot if possible with the the major parts of the pen separated and out for inspection. NOTE: Don't go as far as removing the feed from the nib or the section from the feeder.

Shot #6 : THE CAP SHOT

shot 6

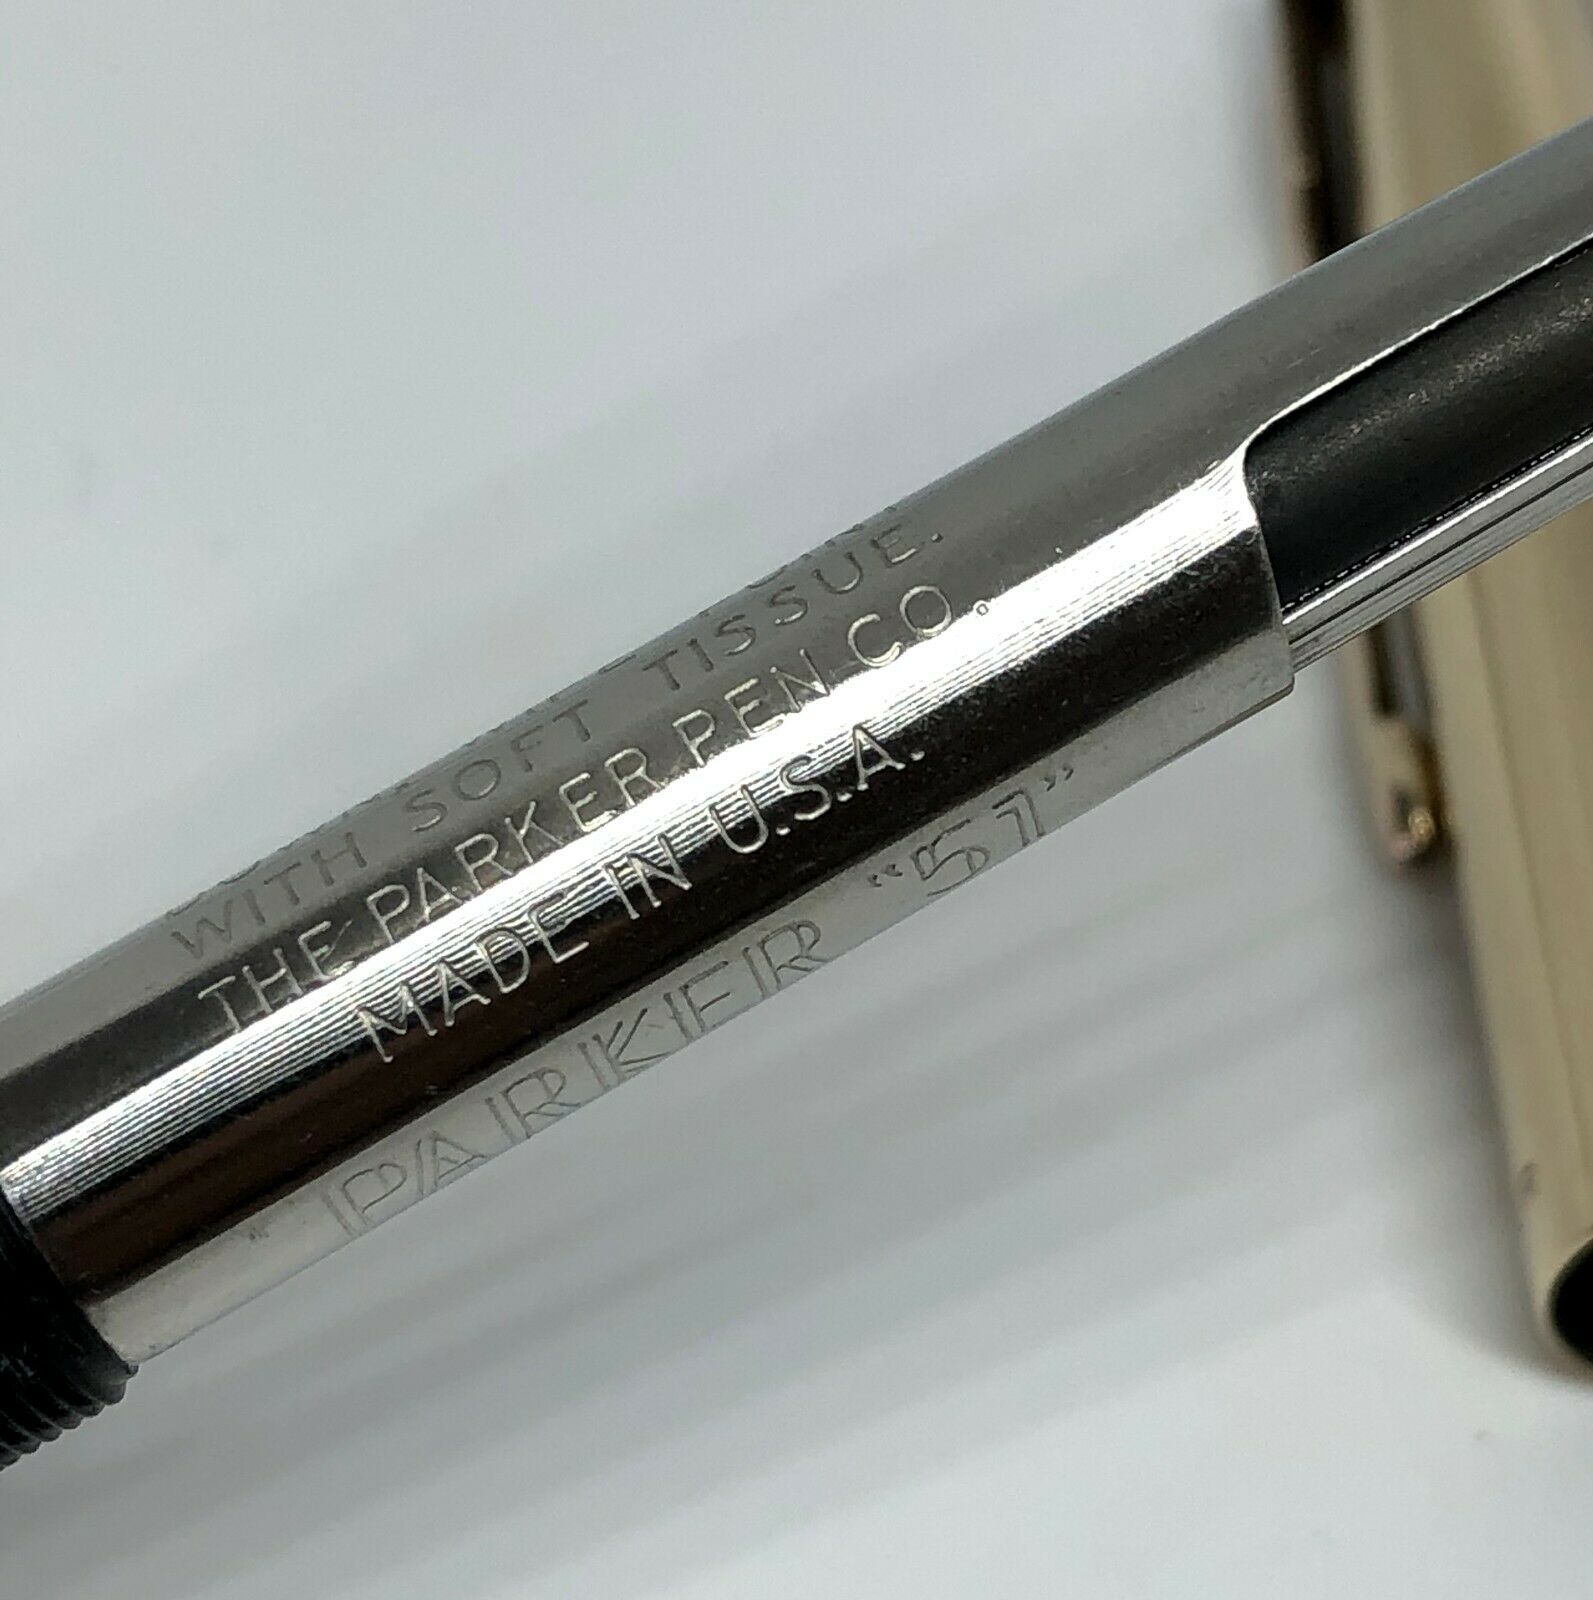
This is a close up of the pen's cap. Don't be afraid to zoom in and really capture the tiny details. Buyers will want to see the color of the Jewel if it has one or the tiny etchings around the cap lip.

shot 7

Shot #7 : THE CAP ON PEN SHOT

This shot is best accomplished with a pen stand. Rest the pen on the stand with the clip facing the camera lens.

shot 8

Shot 8 : THE OPTIONAL SHOTS

Take other photos if you have weren't able to capture etchings, box tops, etc. Maybe an angle or close up you couldn't accomplish in the first 7 photos, please do so with these shots.

extra shot 1

EXAMPLE SHOT - Paperwork

This is a great shot example of a 1st shot that includes the paperwork along with the pen and box.

extra shot 2

EXAMPLE SHOT - The Components

This is a great example of what we are looking for in our #5 shot.

extra shot 3

EXAMPLE SHOT - Pen Cap Jewel

This shot perfectly captures the cap on the pen. Notice you get a great detail of the jewel on top of the pen cap!

extra shot 4

EXAMPLE SHOT - Glowing Gold NIB

Great lighting on this NIB. The gold shines and its easy to read the etchings.

extra shot 5

EXAMPLE SHOT - Cap Cross

Here is another example of the cap cross.

shot 8

EXAMPLE SHOT - Two Pen Set Box Shot

Try to not separate the set. Get as many of the shots as possible with both pens in frame. If one of pens boasts a unique feature, then separate.

shot 8

EXAMPLE SHOT - Two Pen Set Cap Shot

This photo captures the pen cap's jewel with definition while not separating the pens.

shot 12

EXAMPLE SHOT - Cap and Nib ZOOM shot

This photo captures the cap's jewel with definition as well as a close-up of the nib, an excellent arrangement.